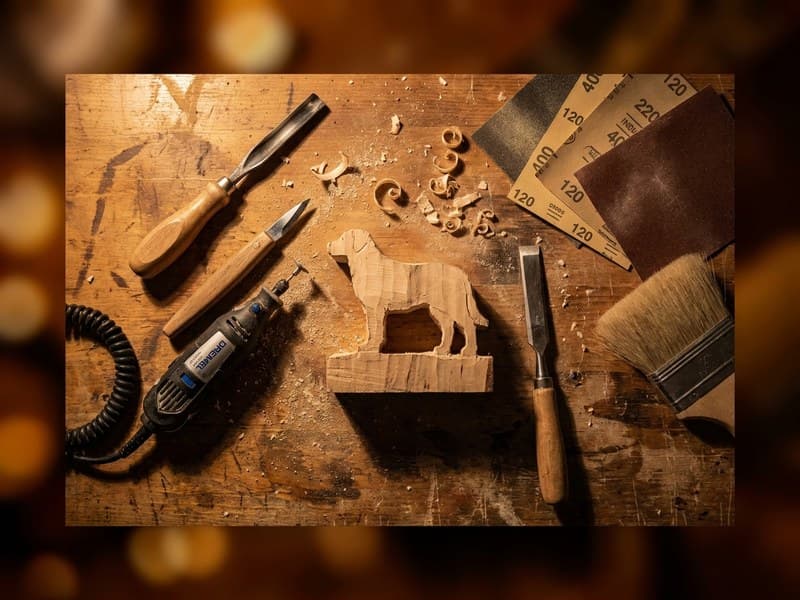
How to Carve a Miniature Dog Breed Step by Step
The difference between a carving that reads as a specific dog and one that reads as a generic four-legged animal comes down to a handful of decisions made early. This is the full process for a palm-sized standing dog, from a rough basswood block to a finished figure, with the exact spots where beginners lose the likeness and how to hold onto it.
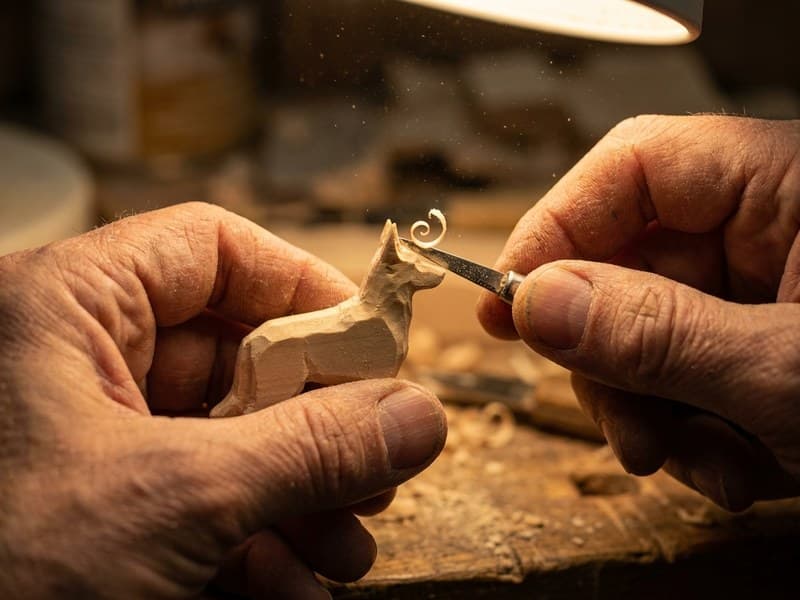
Pick a breed with a readable silhouette
Some breeds carve far more easily than others because their outline does the work for you. A Belgian Malinois, a German Shepherd, or a pointer has a strong, recognizable silhouette: erect ears, a clear topline, a defined stance. A breed defined mostly by its coat, like a poodle in a show clip, hides its structure and is a harder first subject. Start with structure, not fluff.
Step one: draw both profiles on the block
Before any cutting, draw the side profile on one face of the block and the front profile on the adjacent face. This is the single most skipped step and the most important one. The two drawings keep you from carving a beautiful side view that turns out to be paper thin from the front.
Leave the legs and muzzle slightly oversized in your drawing. Wood does not grow back, and you want margin to correct as the form emerges.
Step two: rough out with stop cuts
Band off the obvious waste first. A stop cut is a straight cut down into the wood that gives your slicing cut somewhere to stop, so the fibers break cleanly instead of tearing past where you wanted. Use stop cuts to separate the legs from the belly, the head from the chest, and the tail from the body.
At this stage you are looking for the basic mass and stance, not detail. The carving should read as a dog-shaped block from across the room before you touch anything fine.
Step three: the three passes
Every piece moves through three deliberate passes. Rough out removes waste and finds the stance. Shape rounds the planes, the chest, the haunch, the muzzle, until the form reads without help. Detail is the last pass: fur direction, the set of the eyes, the small cuts that turn a shape into a specific creature.
Do not chase detail on a shape that is not right yet. If the head is the wrong size, no amount of eye detail will fix it. Get each pass fully correct before you start the next one.
Where beginners lose the likeness
The muzzle is the first casualty. Carvers round it until it disappears, and a dog with a soft blob for a snout stops looking like a dog. Keep the planes of the muzzle crisp and leave it longer than feels right.
Ear symmetry is the second. Carve both ears in alternating passes, a little on one then the same on the other, rather than finishing one completely first. It is far easier to keep them matched than to fix a mismatch later.
The eyes are the third. Set them slightly deeper than the surface and keep them small. Oversized eyes read as a cartoon, and a shallow eye with a clean upper lid reads as alert and alive.
Finishing: to leave natural or to paint
Basswood carves pale and clean, and many carvers leave animal figures unstained on purpose, letting the natural grain stand in for the coat. A wipe of boiled linseed oil warms the wood and deepens the grain without hiding it, which is the finish we reach for most.
If you paint, seal the wood first, then build color in thin washes so the carved texture still reads through the surface. Heavy, opaque paint fills your fur detail and flattens the whole piece. Whichever way you go, the carving should already look finished in bare wood. Finish is the last five percent, not a rescue.
Get the supplies from this guide
Every tool and material mentioned here lives on our resources page, organized by category. Product links there are Amazon affiliate links.